About the Author: Manish Luhana
The automated flow is initiated by signals, whereas the instant flow can be manually initiated. In this guide, we’ll learn how to use Power Automate to construct scheduled workflows.

1. Make a new scheduled cloud flow in Power Automate
Log in with your Office 365 credentials at https://flow.microsoft.com. It will not require you to input your credentials if you have already logged in.
Create a new flow of type scheduled in the Power automate panel and call it “Send News in Email to Contacts.”
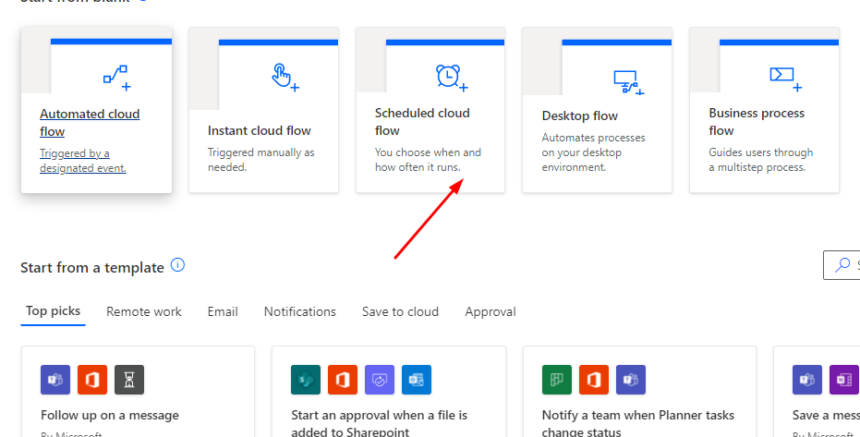
When you click on the scheduled flow, a dialogue box appears where you can specify the start date and time for the flow to begin. You also must specify how many times you want it to run.
Keep in mind that we don’t have to wait till the trigger action to test planned workflows. We can set it off ourselves, making testing super easy.
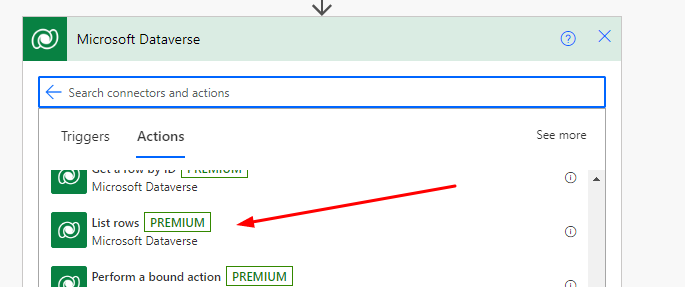
2. Add a new action for reading contacts.
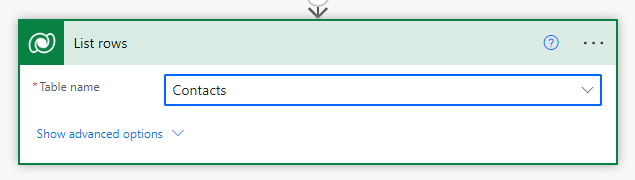
Add a new action to list rows of Dataverse contact records. Use a Dataverse connection with a List row action. It will link the Dataverse together.
Put table name as contact
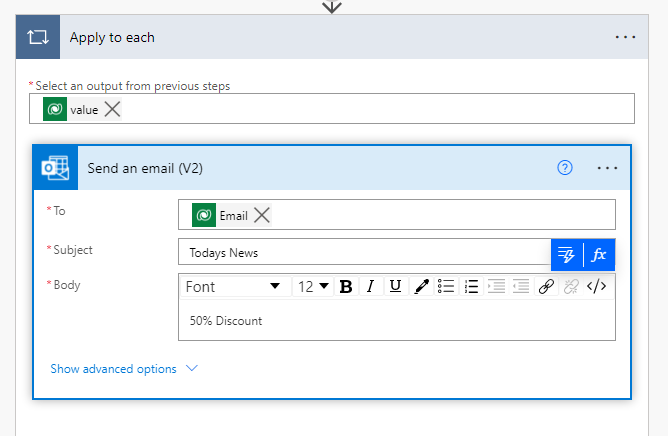
Add a new step as a loop, which will run through the list records and send an email. use Use the Control connector to apply each loop.
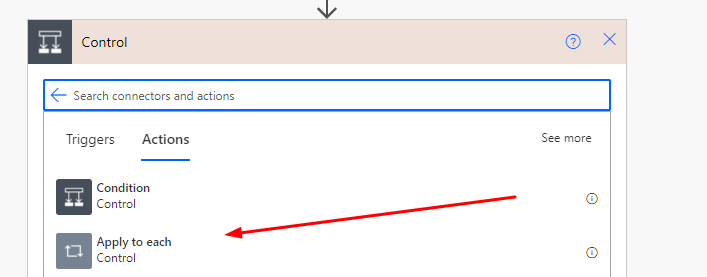
Now, inside the loop, add a value as a list and another action to send email using Office 365 Outlook. Using the dynamic panel and the mail subject and content, define the address as a contact email.
If you test the flow now, it will run on a daily basis and send an email.
I hope this information is useful.