About the Author: Manish Luhana
An easy way to get started with IoT
A simple way to get started with the Internet of Things
The Internet of Things (IoT) uses sensors, devices, connections, services, dashboards, and other devices to connect the physical and digital worlds. Connecting devices to your apps, as well as managing and monitoring them, may be challenging. That complexity is removed with Azure IoT Central (opens new window). It allows you to connect devices to a central location in the cloud with ease, and it comes with industry-specific templates for security, monitoring, and administration. This helps you to get up and running quickly while also allowing you to undertake more complex configuration and development if necessary.
In this post, we’ll demonstrate how easy it is to get data from a device connected to Azure IoT Central (opens new window).
Requirements
You’ll need the following things to follow along:
- A Microsoft Azure membership (if you don’t already have one, sign up for a free account (opens new window) before you start)
- You’ll need a smartphone or a phone emulator (iOS or Android) to install the IoT Plug and Play app.
Make a new IoT application and link it to a device.
IoT-as-a-service is provided by Azure IoT Central. Let’s give it a go.
1. Sign in to apps.azureiotcentral.com (opens new window) with the Azure account you use. This is Azure IoT Central’s primary portal.
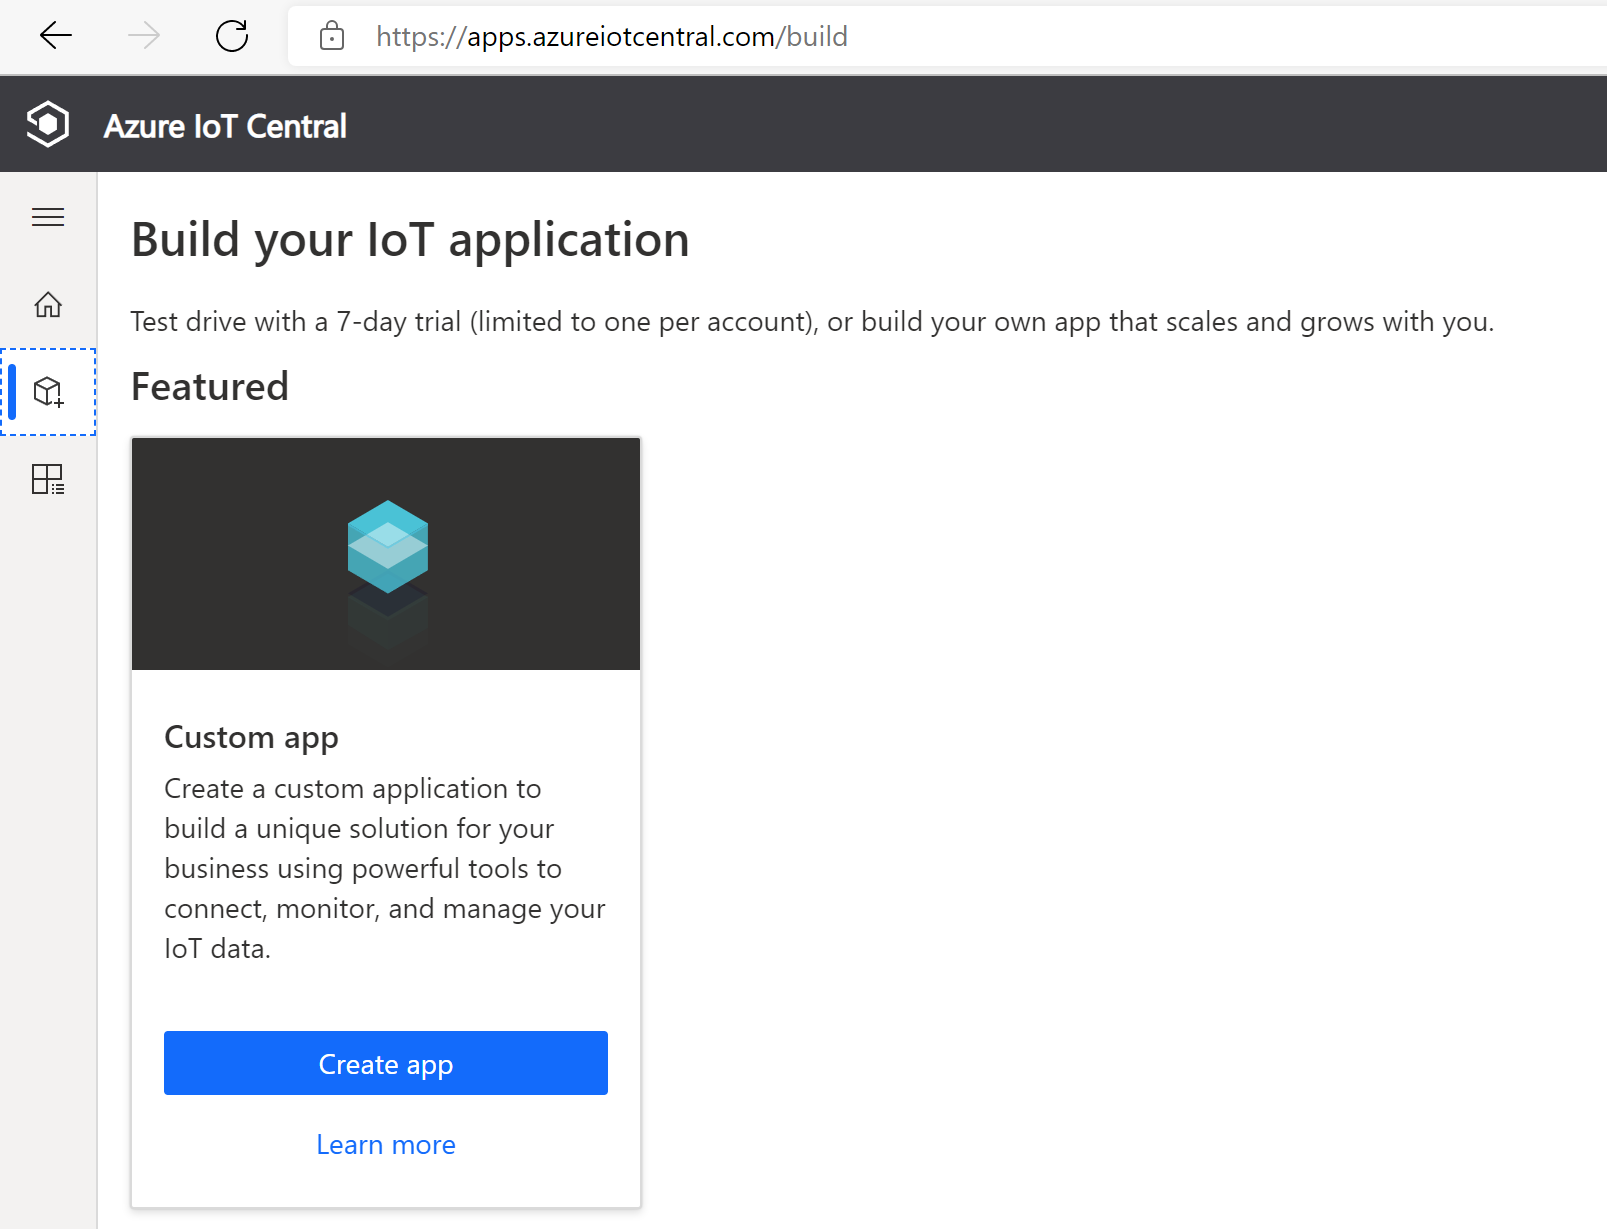
2. Select Build from the left-hand menu.
3. We can create our first IoT application right here. IoT Central offers a variety of application templates to get you started. Templates for certain industries, such as retail, healthcare, and energy, are included. We’ll make a one-of-a-kind app. Click Create app in the Custom app template.
In Azure IoT Central, create a custom app.
4. This brings up the “About your app” tab.
- A name and URL prefix are suggested by blade IoT Central. You are free to leave them how they are.
- For the payment plan, select Free.
- Select your Azure Active Directory in Billing Info.
- Choose the Azure Subscription you’d want to use.
- Choose a location for the program to be installed.
- Create the Create button.
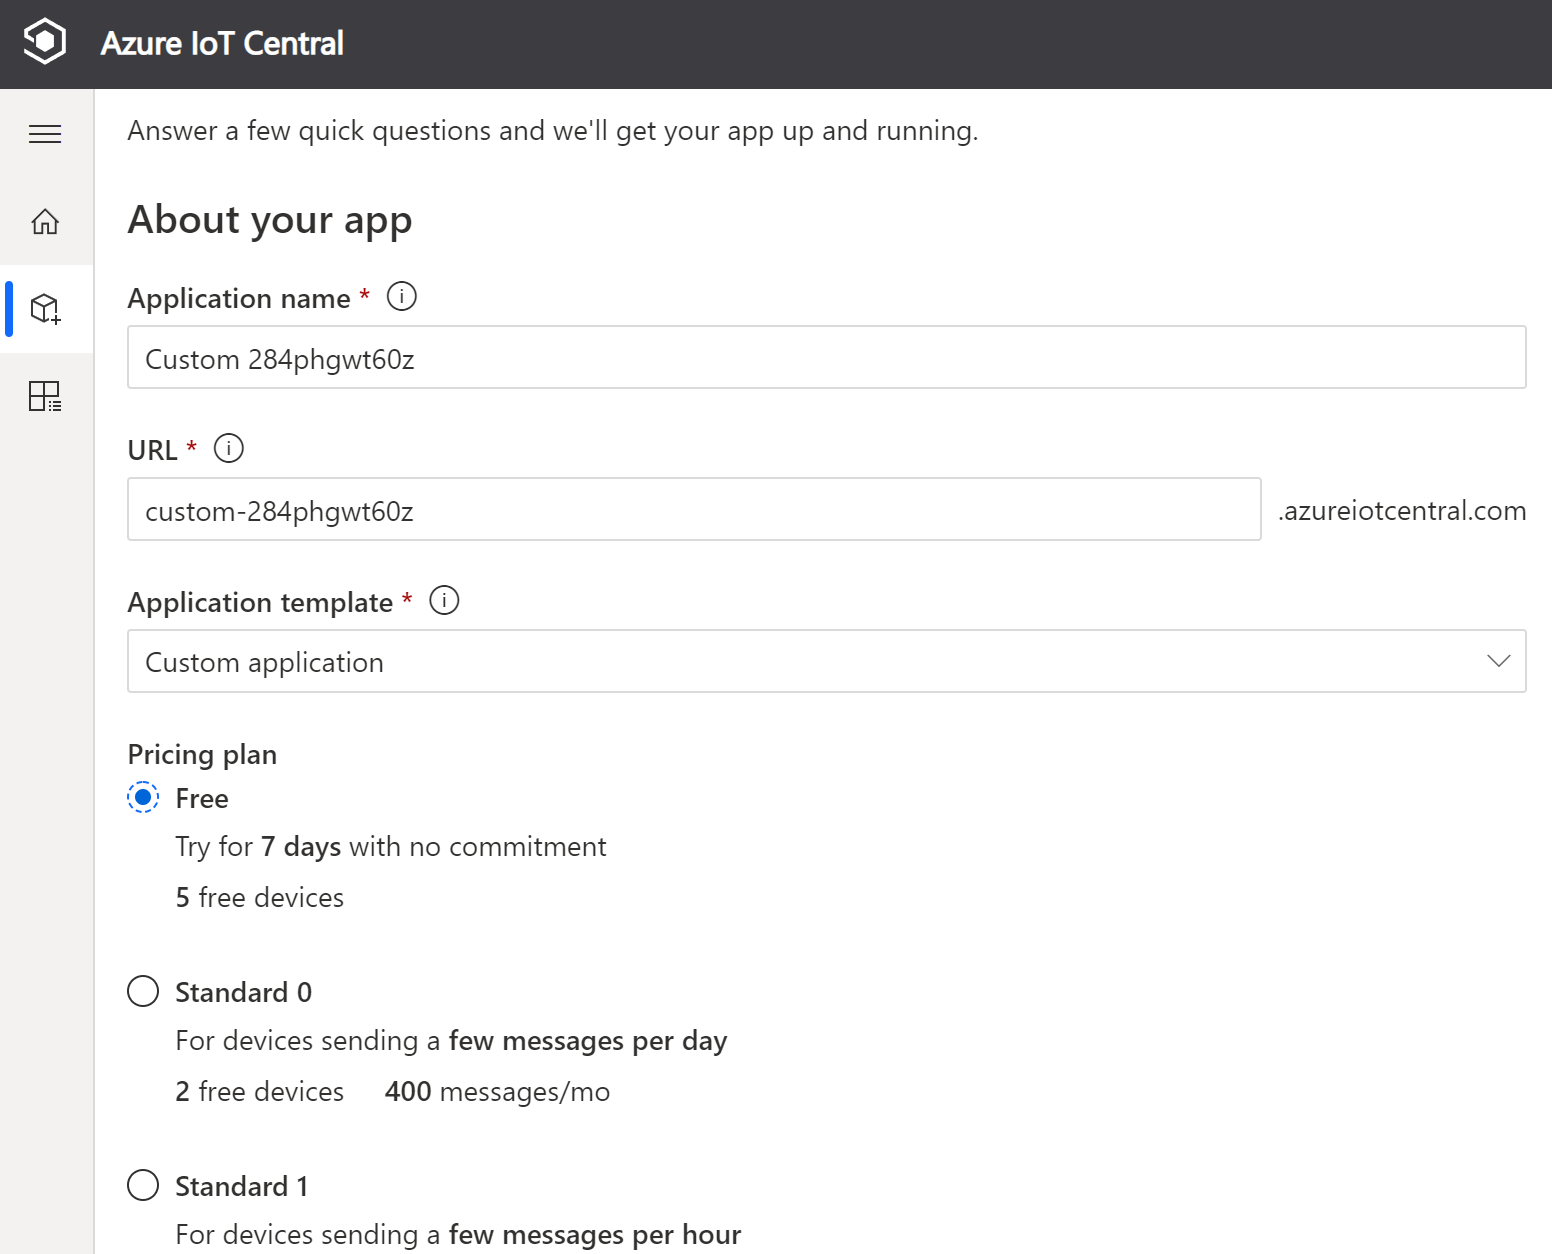
In Azure IoT Central, configure the application information.
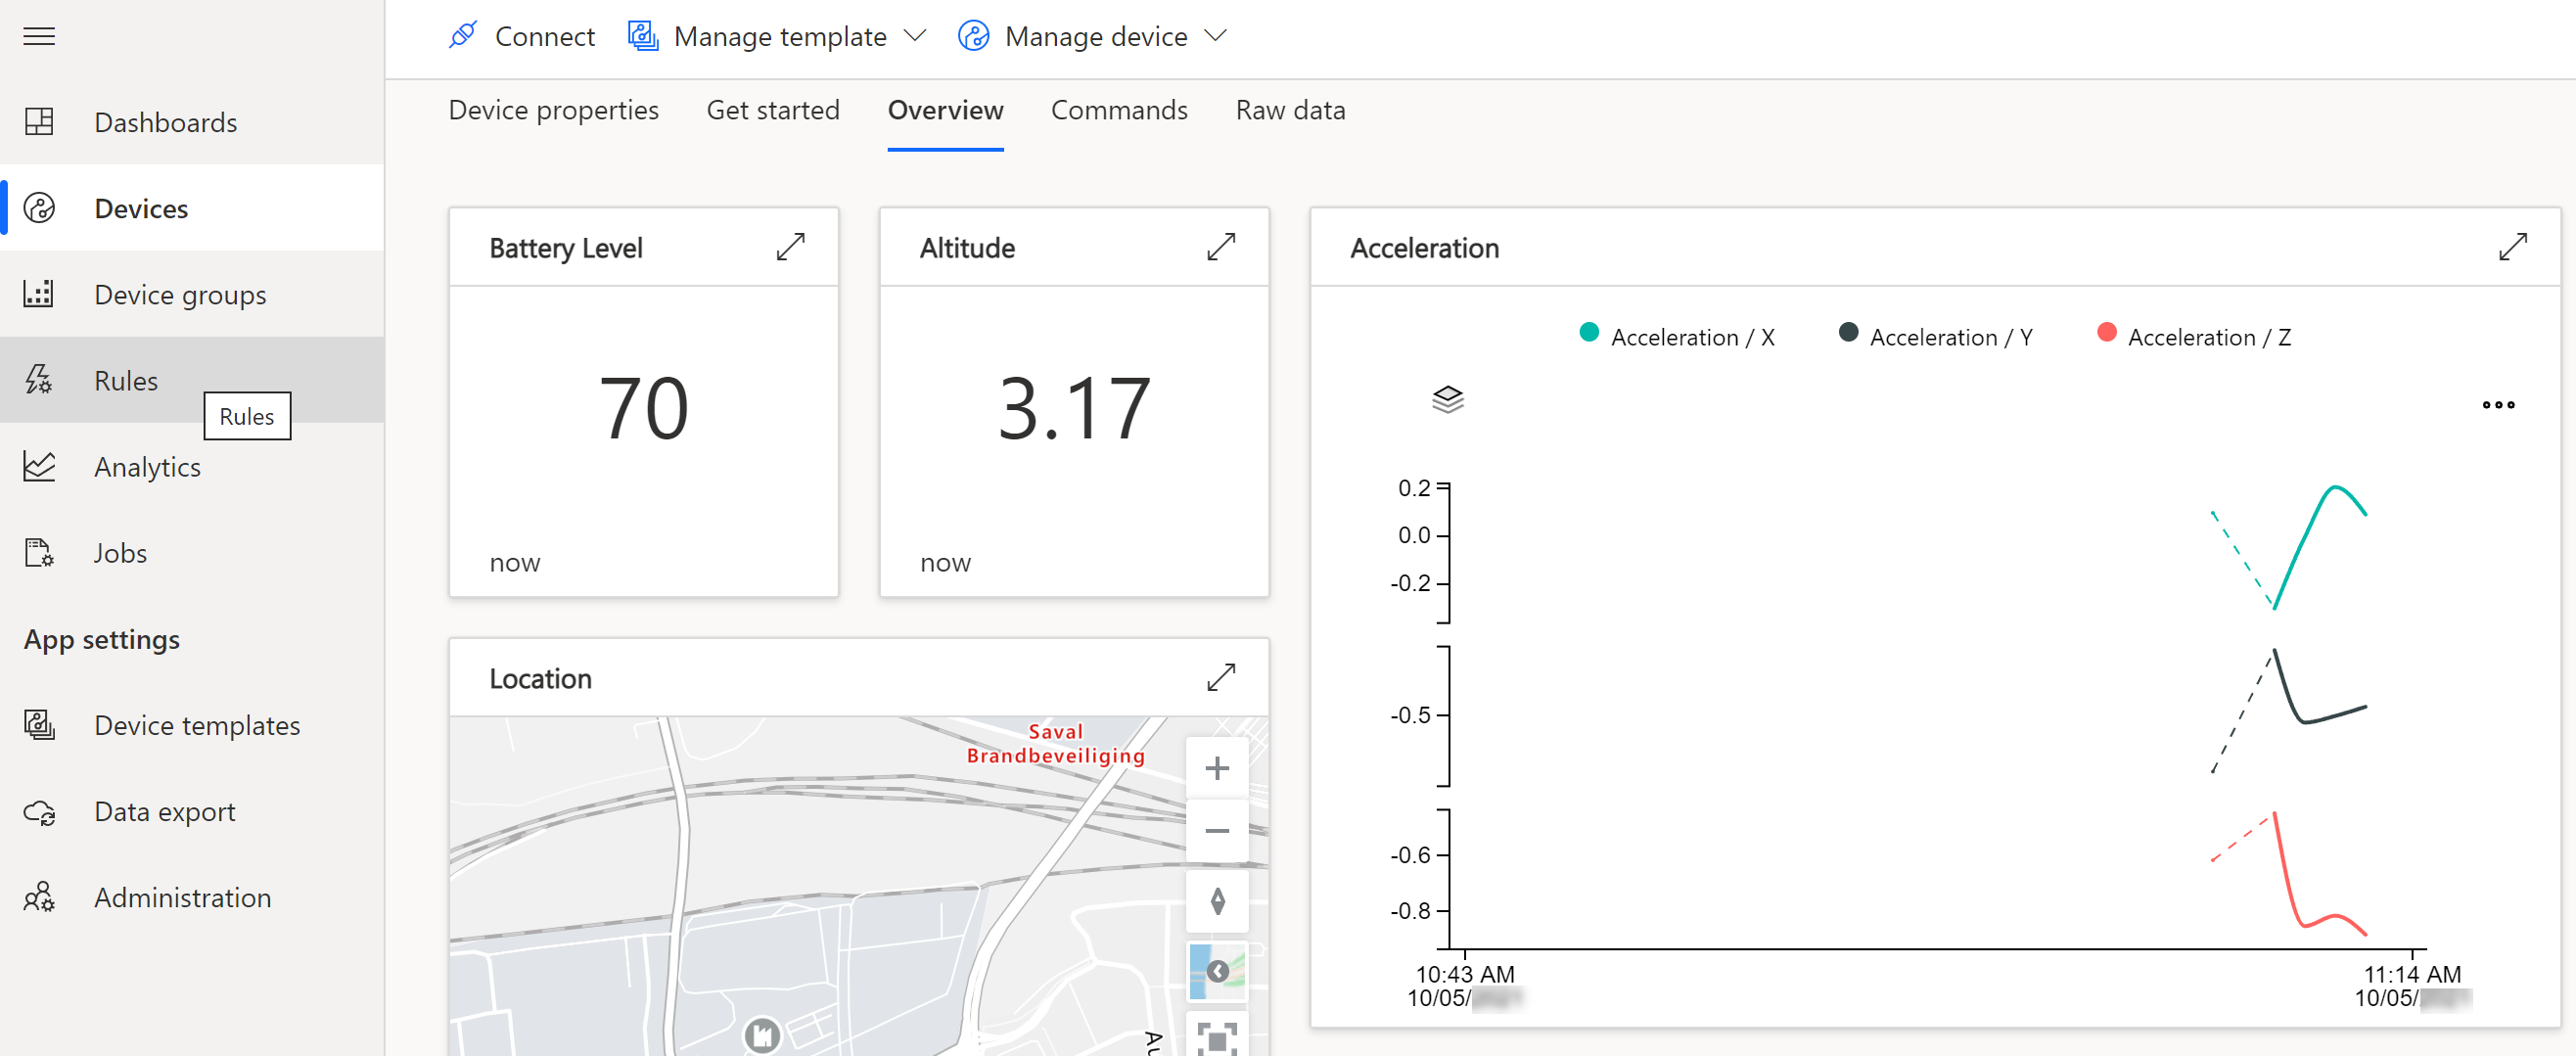
Connections to devices, rules, jobs, analytics, and more may all be included in Azure IoT Central apps. We’ll keep things simple by only adding a gadget.
- Select Devices from the left menu.
- We don’t have any devices linked yet, so select Create a device. This generates a digital representation of an existing device rather than an actual device or emulation.
- You may leave the device information alone.
- To build a device in IoT Central, click Create.
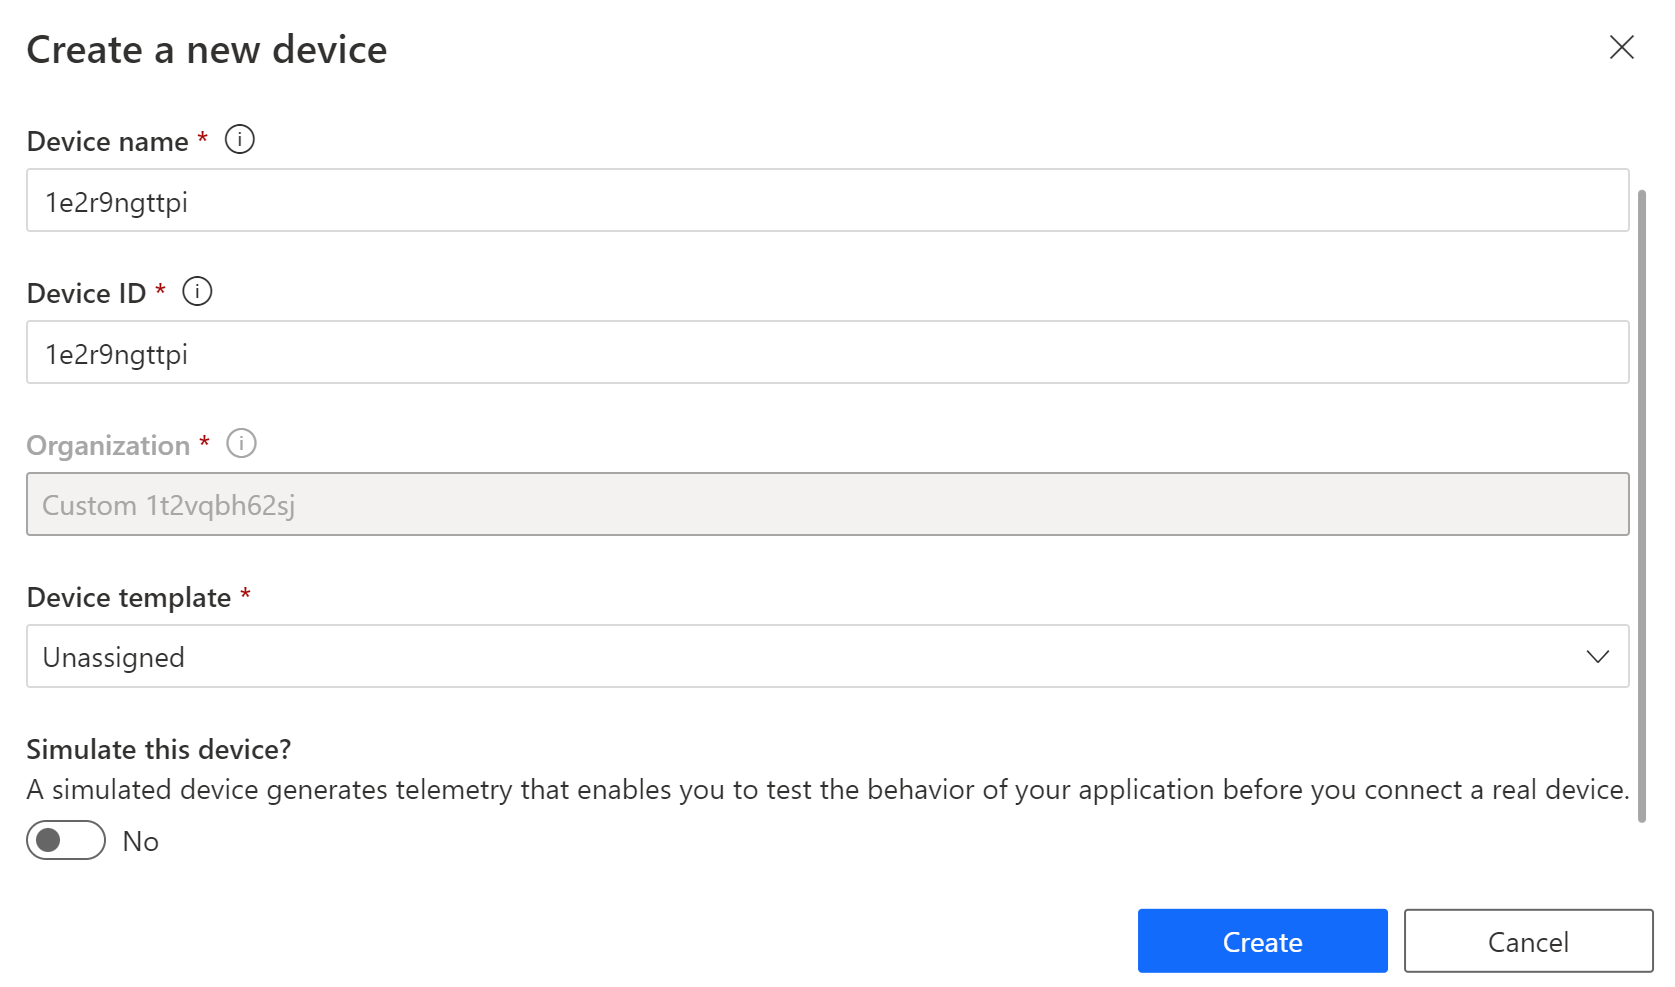
In Azure IoT Central, create a device.
5. Afterwards, in the top menu, click Connect on the device that we just built.
6. This image depicts the connecting blade.
7. Several forms of authentication can be used to connect a device.
8. The Shared Access Signature (SAS) approach will be used. To see the QR code that we may use to link our device, click on QR Code.
9. On an Android (opens new window) or iOS phone, download the IoT Plug and Play app (opens new window)
10. On your phone, open the app. It will request that you scan a QR code.
11. Give the app permission to use your camera.
12. Scanning the QR code from Azure IoT Central is a simple way to get started.
13. It will state that it is connected after a brief moment.
Azure IoT Central is linked to the device.
Summary
Azure IoT Central (opens in a new window) is a simple way to get started with IoT without needing to invest in creating and maintaining a solution. Take a look at it!