")
About the Author: Manish Luhana
Microsoft Power Virtual Agents facilitates bot building for you. Virtual Agent allows to create bespoke chatbots using a guided, no-code graphical interface. Chatbots may be designed specifically for customers’ requirements and linked with current products and services. Using AI and data-driven insights, virtual agents may also be continually monitored to enhance performance.
When you design your virtual agent, generally known as a “Bot,” you have the option of deploying it to a test website or obtaining an embed code for your own website. So, as a Power Platform expert, my first instinct is to try to get the Virtual Agent functioning on a Power Apps Portal.
The first step is to sign up for the Power Virtual Agent preview here:
https://powervirtualagents.microsoft.com/en-us/
Backstory
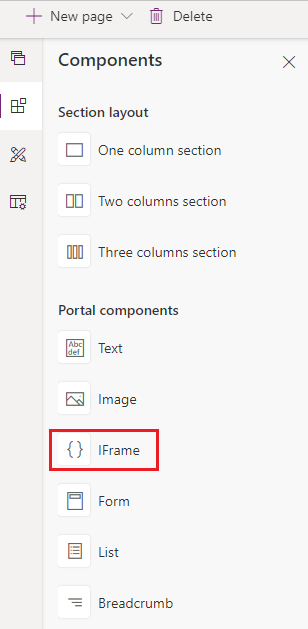
We used to implement chatbots into our website by obtaining “Copy or share the code” and using IFrame. As of now, this is the only way to incorporate it. However, it is now altering the method we implement.
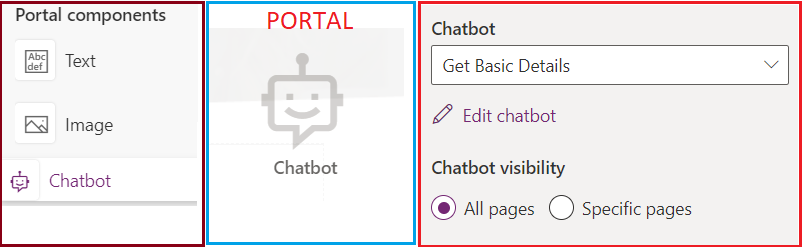
And now there is a new portal component called “Chatbot” for the portal.
Capabilities
- You can add bot on all pages.
- Or you can add the bot on specified pages (UI to select pages)
Create a bot.
You must first create a bot before adding it to a Power Apps portals page. To make the bot, go to Power Apps.

After you’ve constructed your bot and added streams of intelligent conversations, the next step is to activate and deploy it.
You can test it on a sample website, but you can also deploy it on your own website, which might be a Power App Portal!
Add a chatbot to the page (s)
- Edit portal using portals Studio
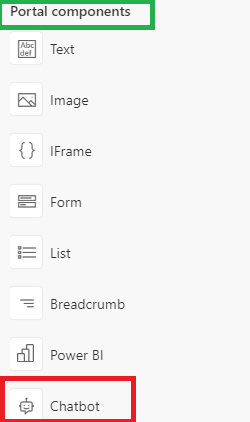
- From the left navigation, choose the components
- Choose the Chatbot component.
- Choose your bot
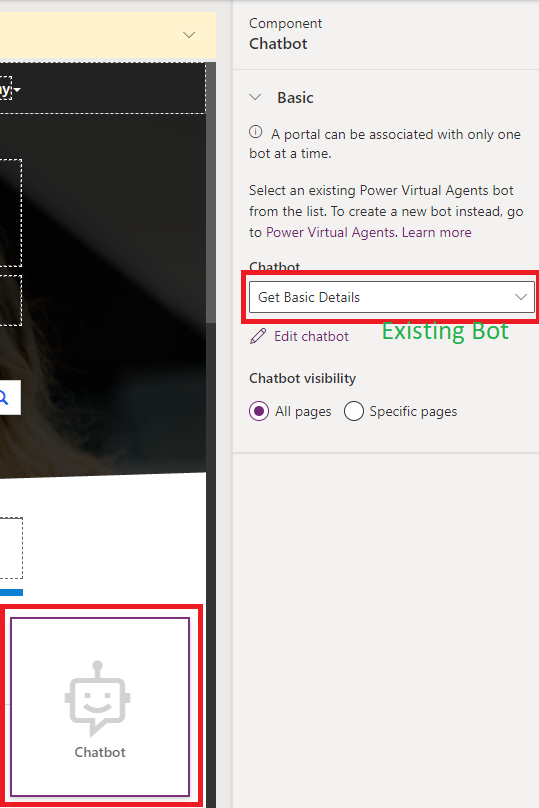
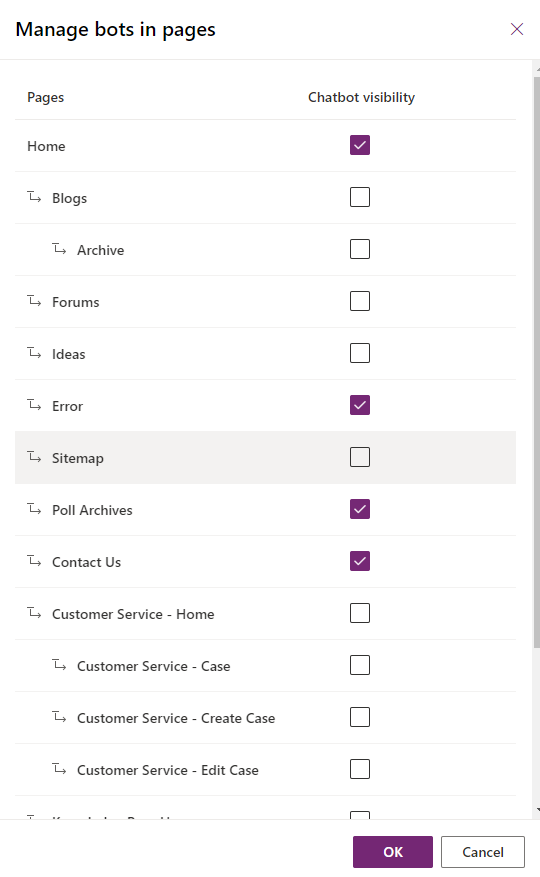
“Chatbot visibility” is set to “All pages” by default. As a result, when you explore the website, you will see that the selected chatbot appears on all portal pages. We may change the visibility option to “particular pages” and pick the pages where we want the bot to reside.
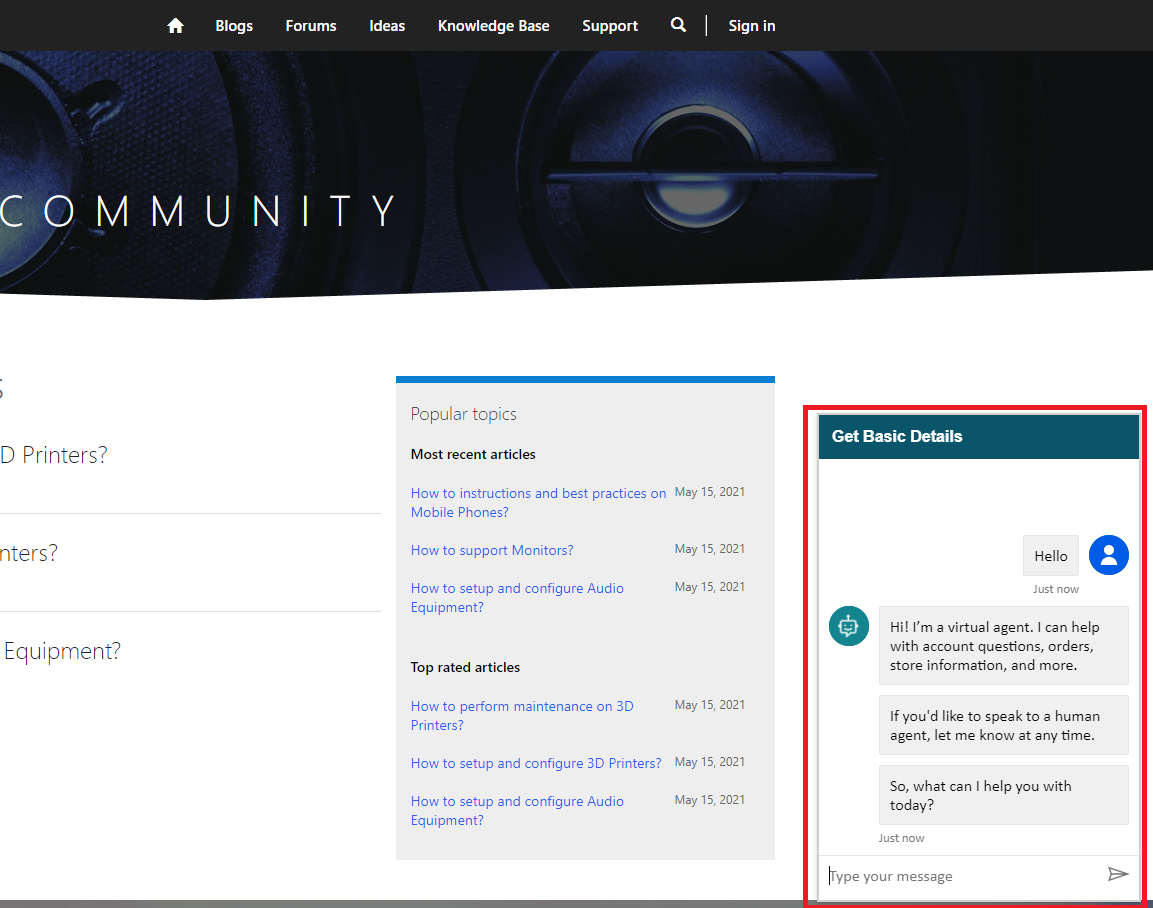
Navigate to the website to see the bot on the portal.
Configuration Advanced
A web template named Power Virtual Agents is used to render the chatbot component.
Within the “window.PvaEmbeddedWebChat.renderWebChat()” function, you may adjust the width, height, header text, and various styles.

ADVANCED CONFIGURATION
Parameter Value
width Uses variable “chatWidth”. To change width, update the width in pixel: let chatWidth = “320px”;
height Uses variable “chatHeight”. To change height, update the height in pixel: let chatHeight = “480px”;
headerText Title of the bot. By default, uses the bot’s name. To change, add “headerText” parameter with the bot header value: “headerText”: ‘Contoso chatbot’;
webChatHeaderStyleOptions Determines header style for the chatbot component, such as the color of font, and background. To change, update “webChatHeaderStyleOptions” parameter with the values for “fontColor”, and “backgroundColor” properties: “webChatHeaderStyleOptions”: {“fontColor”:’black’,”backgroundColo