About the Author: Manish Luhana
Add users to your Office 365
1. Launch an Incognito (Chrome) or InPrivate (Internet Explorer) browsing session
2. Go to https://office.com
3. Log in with your user name and password
- Blog: SIGN UP FOR A DYNAMICS 365 CE ONLINE TRIAL
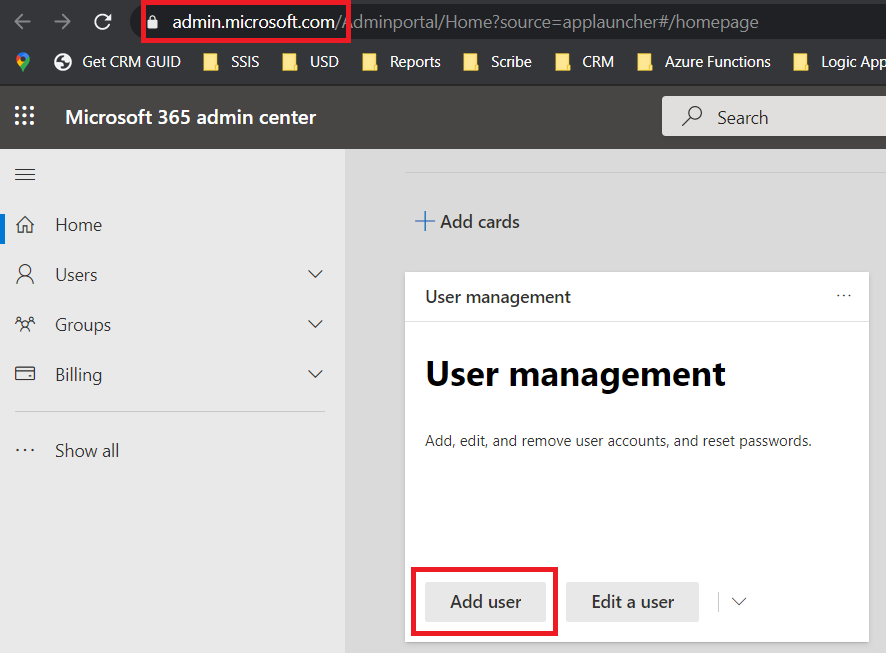
4. Click “Admin” on the left Navigation. Below screen should display
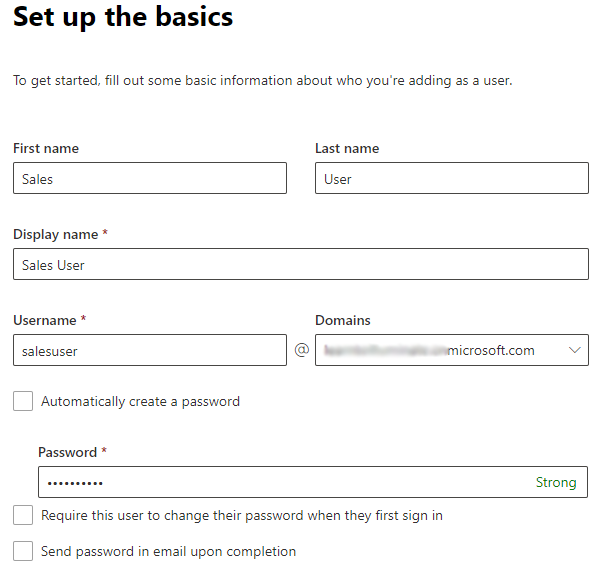
5. Set up User 1’s basic information and then click “Next.”
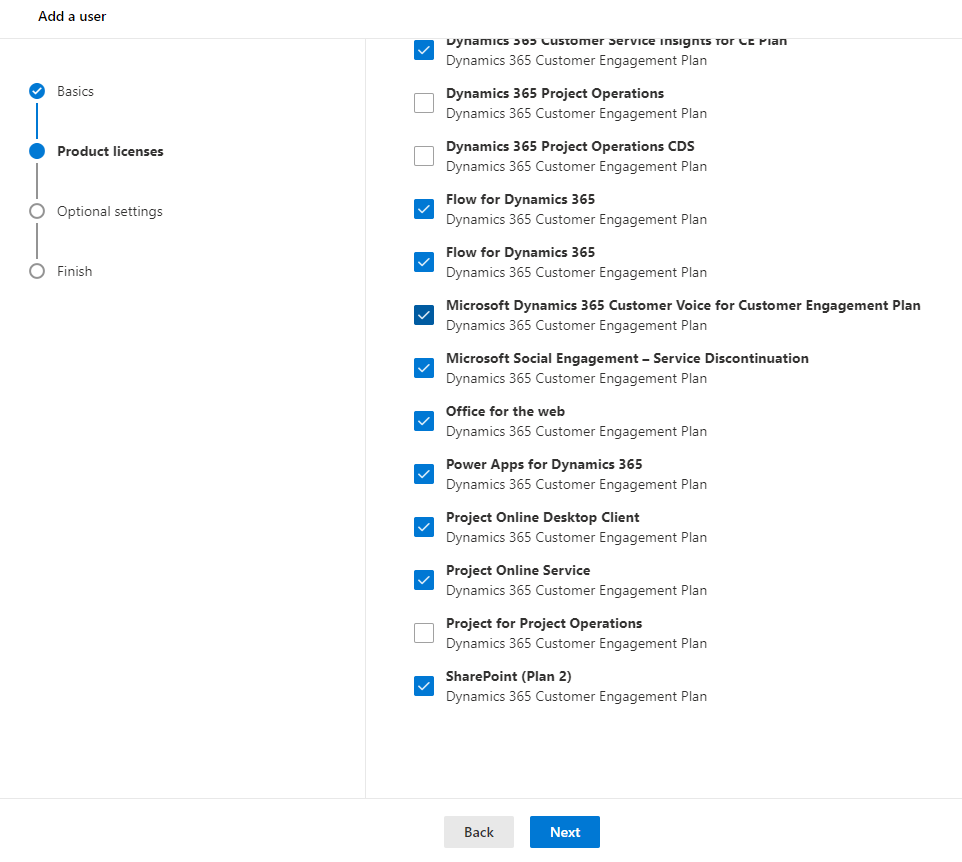
6. Assign Product Licenses
- We have 25 user license for trail instance
- Select “Location”
- Click “Assign user a product license”
- And assign permission/license for each app
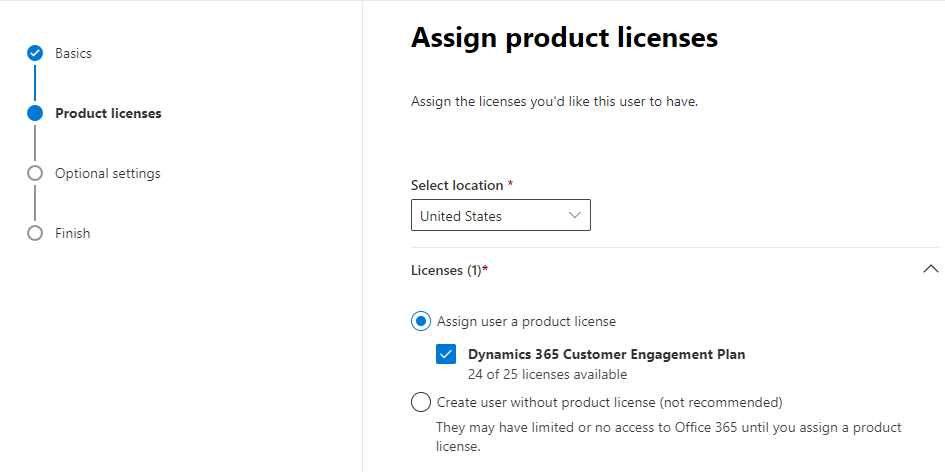
- Assign Permissions/Licenses to the App
7. Optional Settings
- Assign Role as User or Admin
- Assign specific role if admin
8. Enter Profile Information
9. Review and Finish
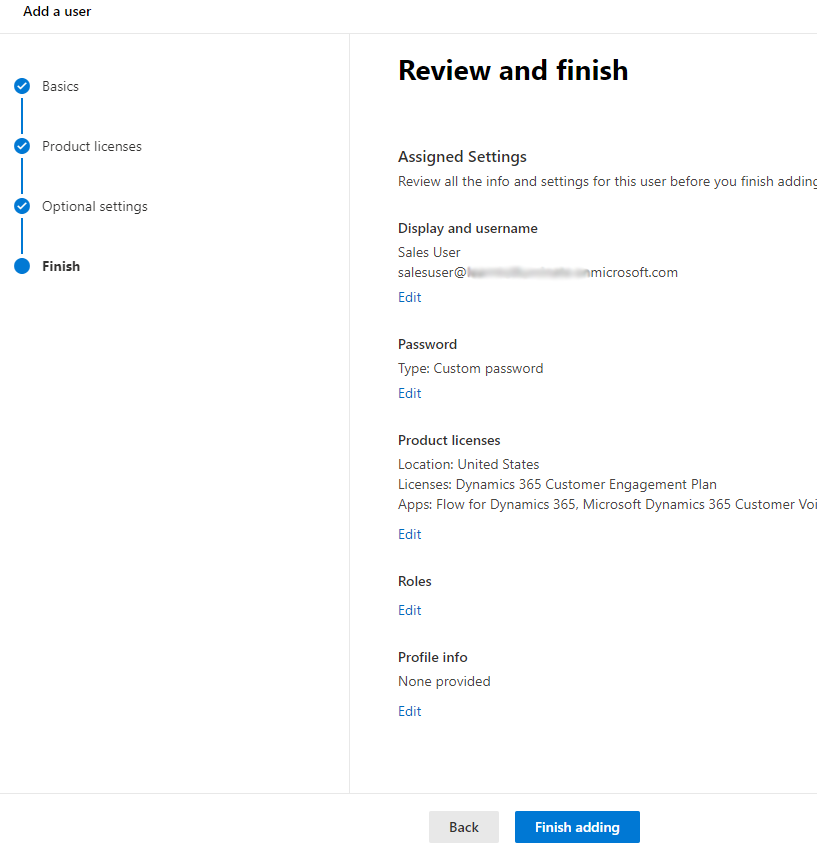
10. A user should be added, and these settings can be saved as a template.
- Click the “Close” button.
11. Using the same techniques, add multiple users.
Add users to the specific environment
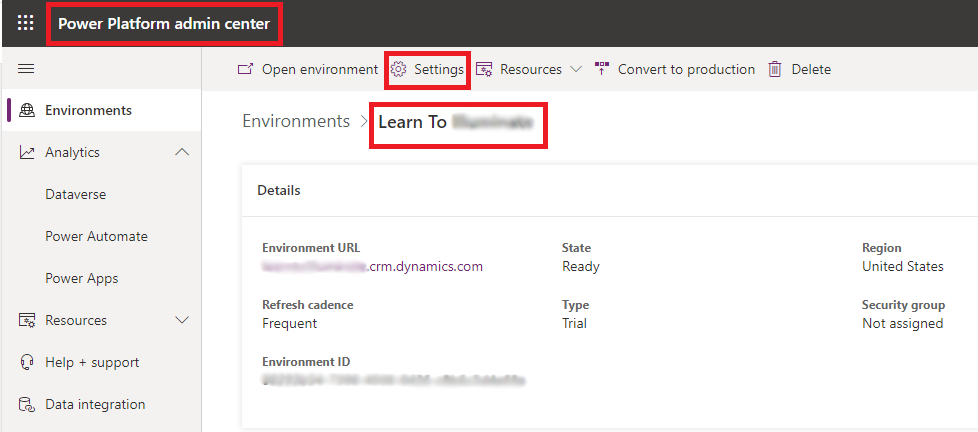
12. Go to https://admin.powerapps.com
13. Select the environment
14. Go to Settings
15. Click “Users + Permission”
16. Click “Users”
17. Click “Add user”

18. Search the user and click “Add”
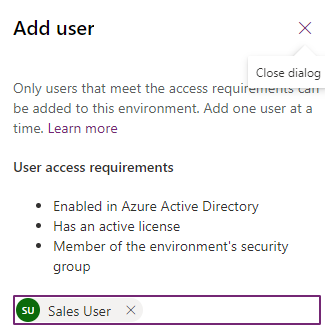
19. You will receive a message like
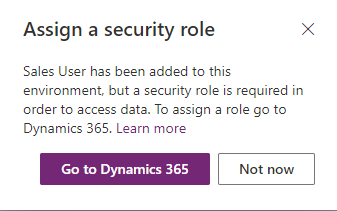
In Dynamics 365, assign the user the Security role.
20. Click “Go to Dynamics 365” or go to the specific environment using url
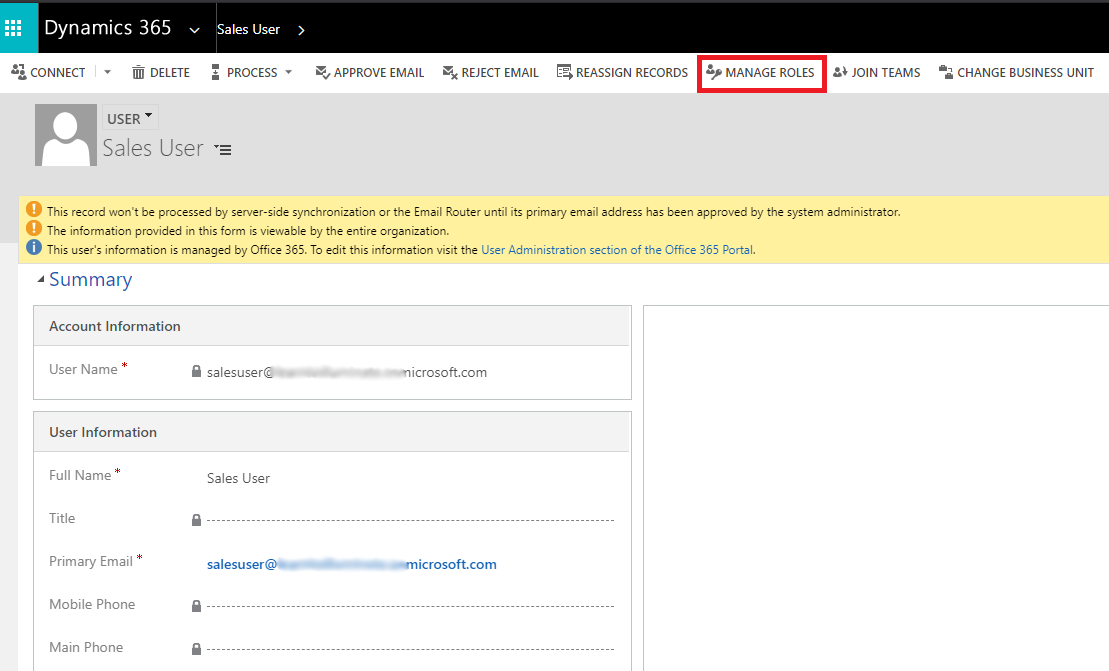
21. Should be redirected to appropriate user
- Go to Settings > Security > User > Select User
22. Click “Manage Roles”
23. Assign specific roles and click “OK”
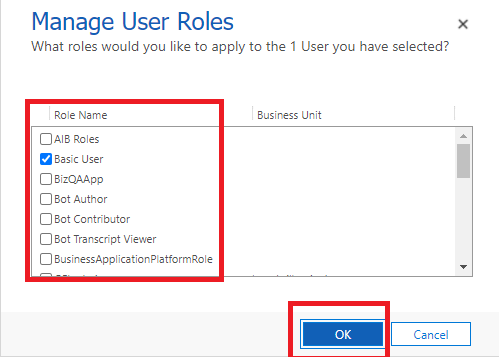
24. New user should be able to use Dynamics 365 CE successfully.