About the Author: Manish Luhana

To consume our own API, we may need to construct bespoke connections in several circumstances. In this article, we’ll go through how to use a custom connector in PowerApps to consume our own API (REST API).
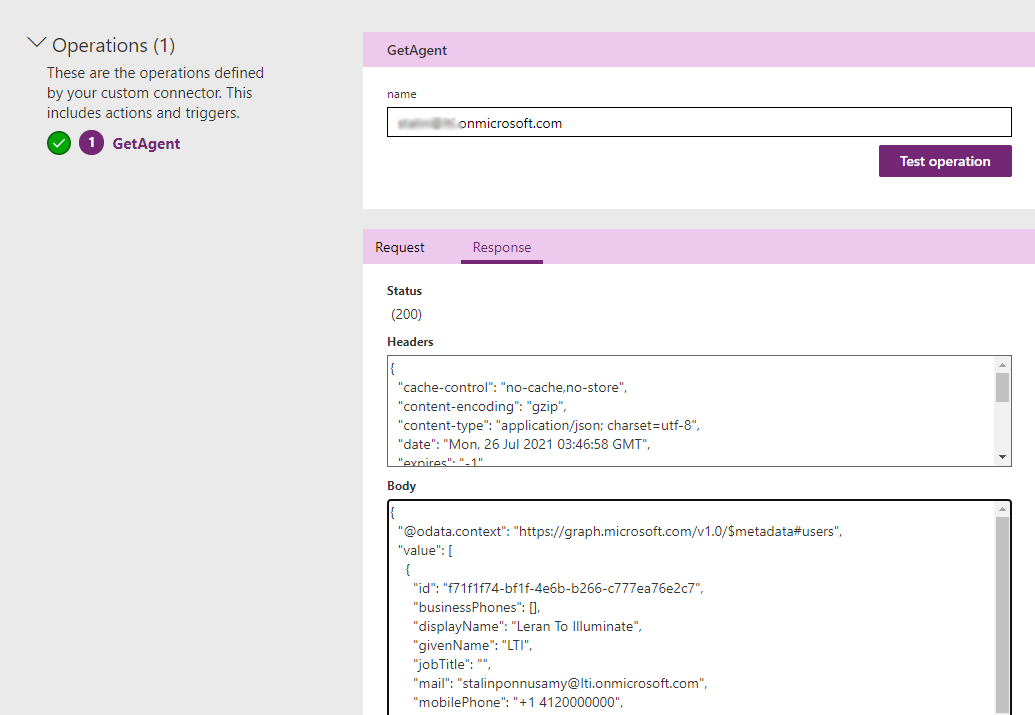
I’ve already built a custom connector that takes a parameter as a username and returns user information as a JSON array.
Custom Connector

Test Custom Connector
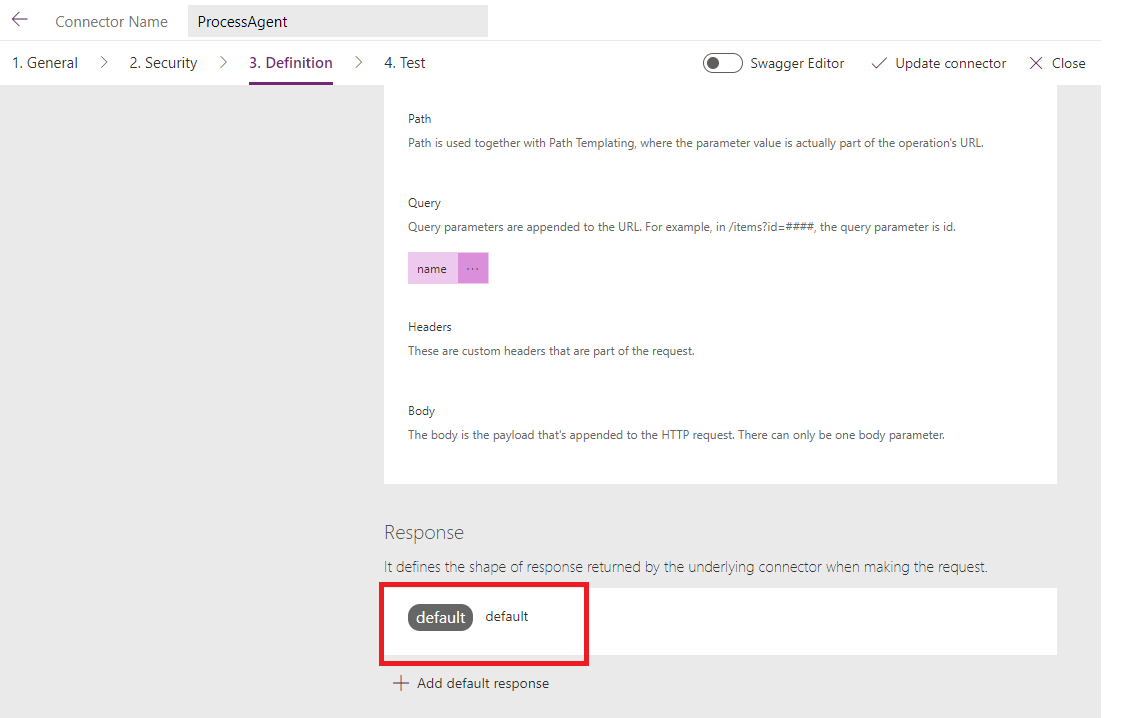
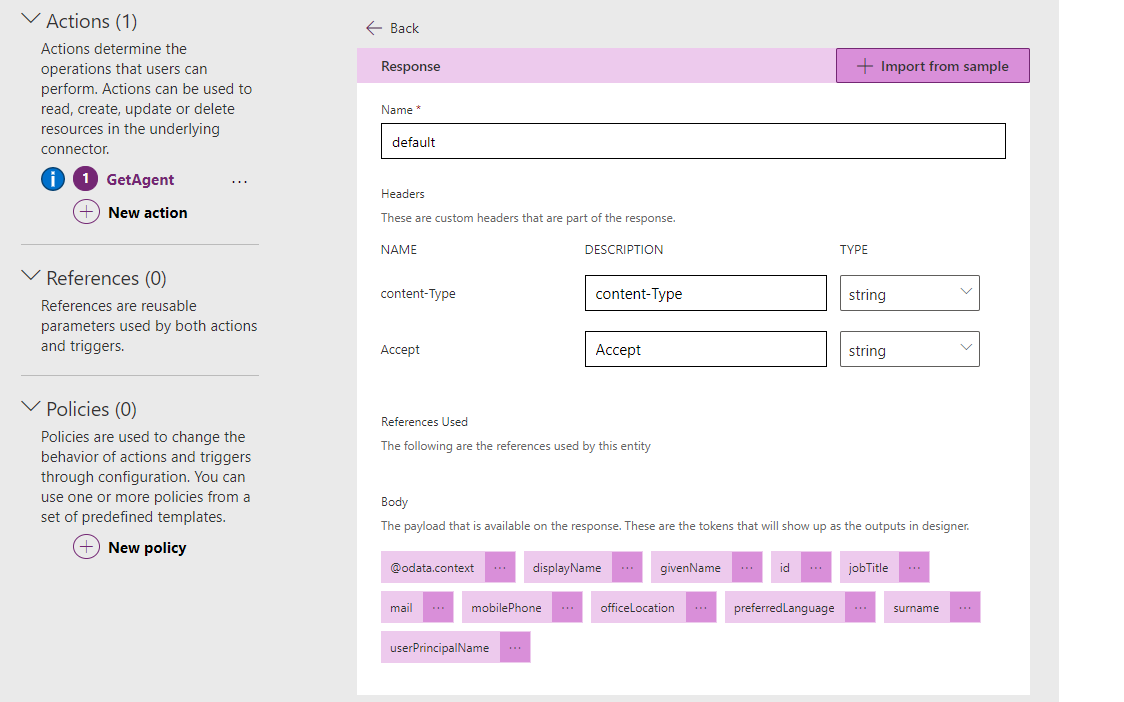
Be careful to provide the Default answer for each action. Only those fields will be presented as designer outputs. Otherwise, we will be unable to obtain the property.
Include a Default Response
Click “default” in the Definition tab’s Response section.
Check out Custom Connector.
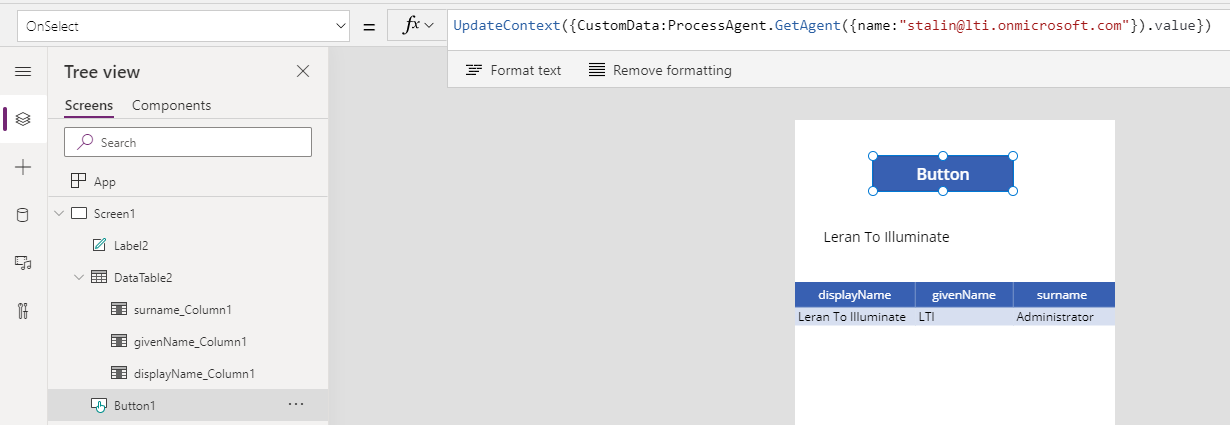
OnSelect – UpdateContext({CustomData: ProcessAgent.GetAgent({name:”stalin@lti.onmicrosoft.com”}).value})
· Process Agent — Custom Connector Name is used in this situation.
· Get Agent – Name of Operation – Parameter
· Save the outcome to the local variable “Custom Data”
· Read the outcome and present it in a single textbox or data table.
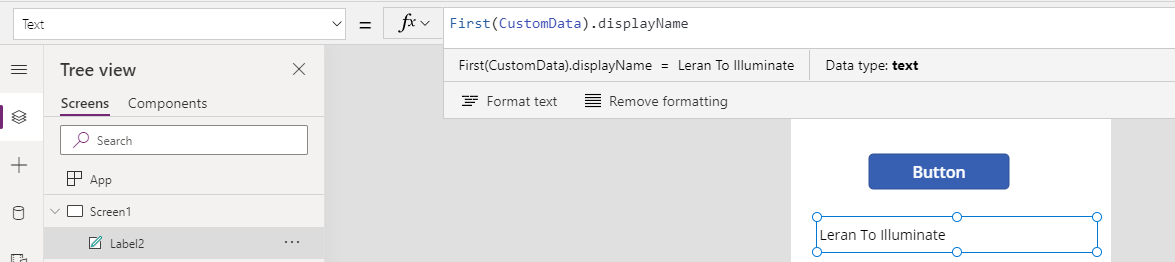
View as a single piece of text
Because the answer is a JSON array, we must use the First method to obtain a single value.
Label text : First(CustomData).displayName
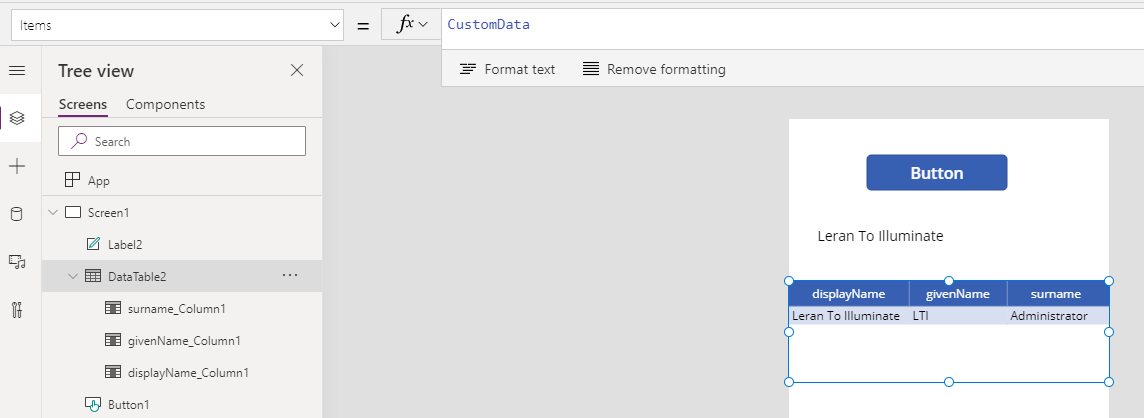
Results will be displayed in Data table Item.
CustomData : item property.
We discussed how to test the custom connector and use it in PowerApps in this article.
Thank you for reading.